|
|
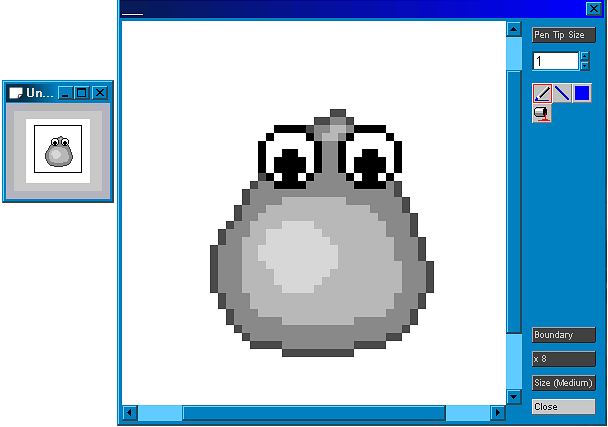
This is the cute little guy we'll be making today. The typical little blob that turns up in nearly every RPG. Pixel Art is most useful for 2d games similar to those for the SNES. In the process we'll go over the various blending options that Pixia has. Okay now for the basics. The most useful pixel art tool that Pixia
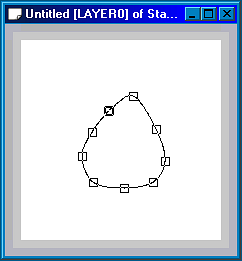
has is the Loope Step 1: Using the spline tool (freehand if you have a graphics tablet) create the basic shape of your creature. Do this on a canvas 5-8 times the size that you plan on having your finished piece. In this case I'm drawing on a canvas that is 200x200 pixels. The finished sprite will be 64x64.
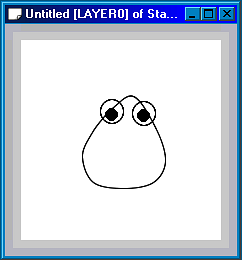
Step 2: Add whatever details you would like, I added eyes.
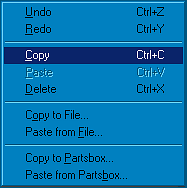
Step3: Copy your picture.
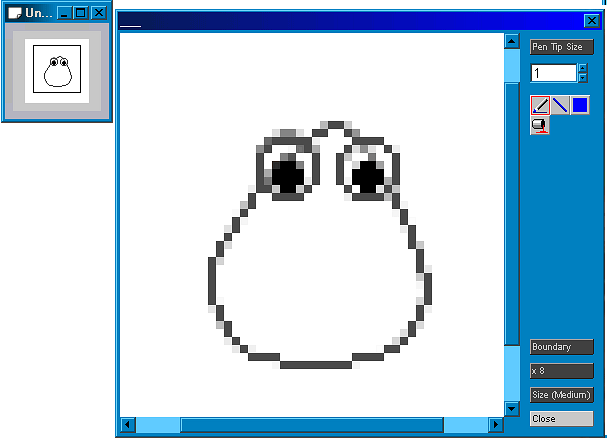
Step 4: Create a new image the size you want your finished sprite to be and paste the previous image onto it. Pixia automatically resizes the image for you using the Expand/Shrink option.
Step 5: Next with a dark grey outline the sprite.
Step 6: Clean up the edges then using all grey shade your sprite.
Now for the fun part.
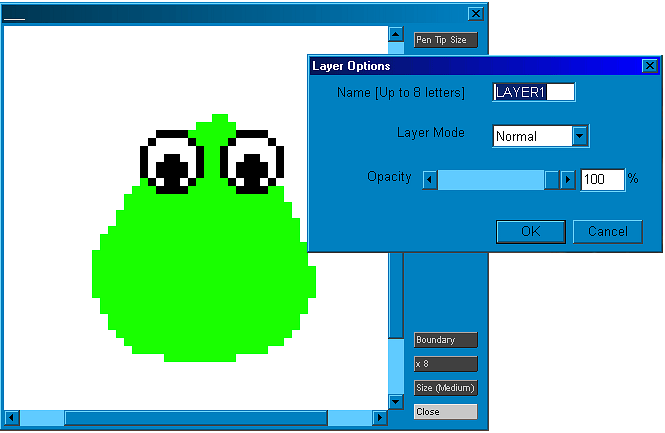
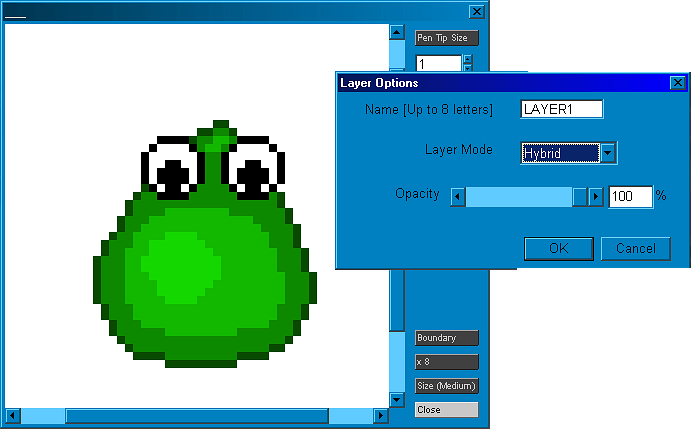
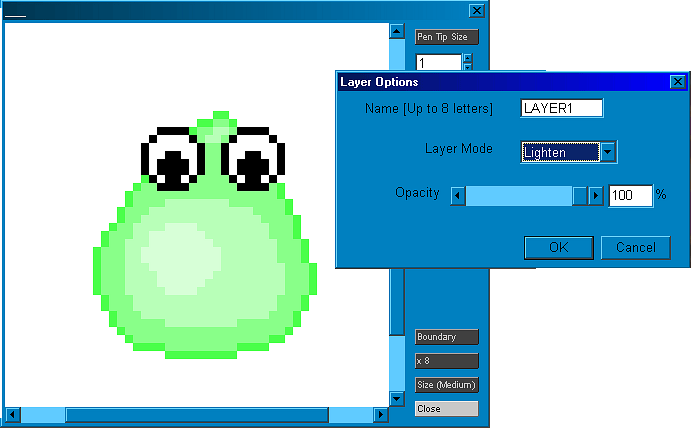
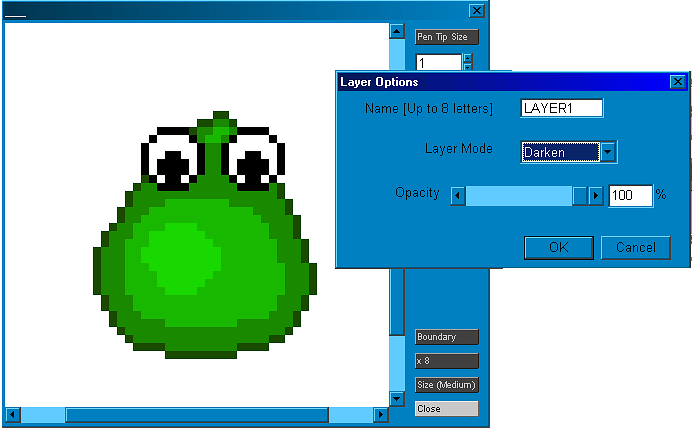
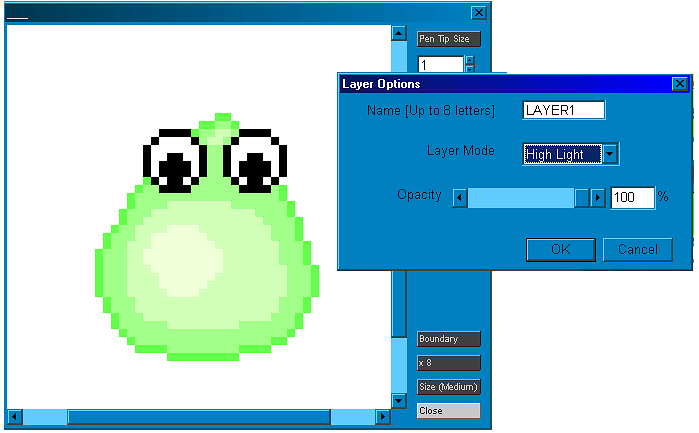
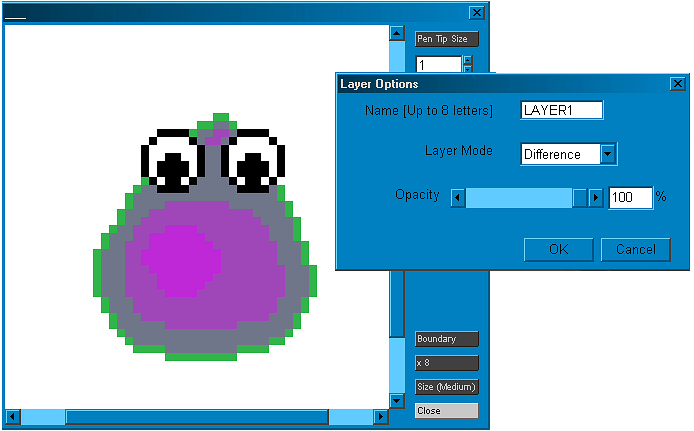
Step 7: Add a new layer. Step 8: In the new layer color over all areas you want shaded in a color. Now pick the blending mode you would like. Here are various examples of the blending options. For our critter Hybrid was picked.
Normal-The default mode.
Hybrid
Lighten
Darken
Highlight
Difference
Step 9: Combine all layers and save as a bmp. And now you have our cute little blob |
